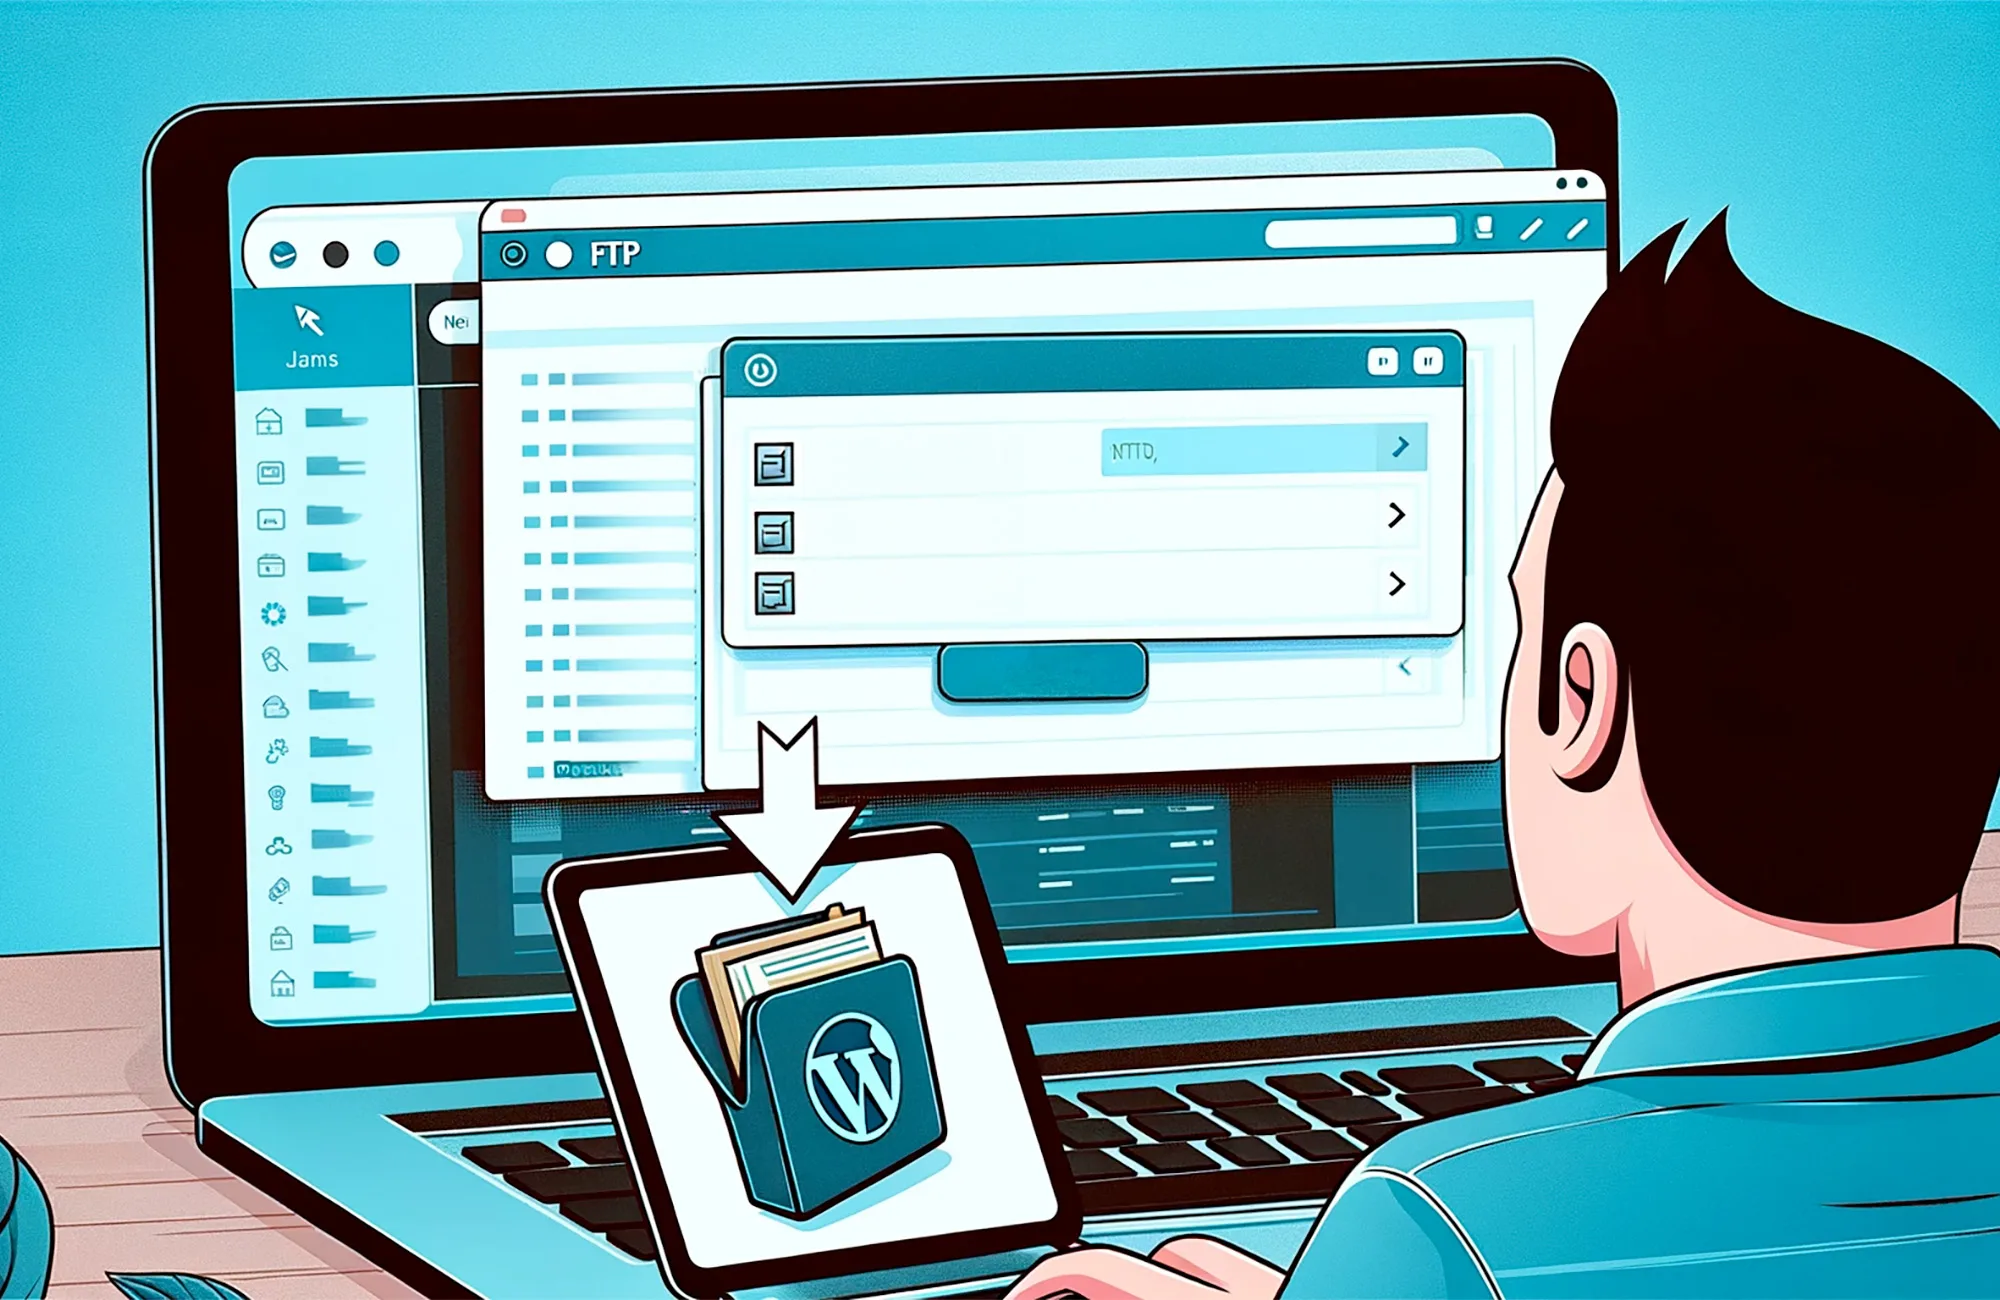


WordPress plugins are essential tools that extend the functionality of your website. However, sometimes a plugin can cause issues, such as site crashes or conflicts with other plugins or themes. In such cases, you may need to disable the problematic plugin. One reliable method to disable a WordPress plugin, especially if you can’t access the WordPress admin dashboard, is through FTP by renaming the plugin folder. Here’s a step-by-step guide on how to do this.
Step-by-Step Guide to Disabling a WordPress Plugin via FTP
Step 1: Access Your Website via FTP
- Install an FTP Client: If you haven’t already, download and install an FTP client like FileZilla, Cyberduck, or WinSCP. These programs allow you to connect to your website’s server.
- Get FTP Credentials: You need your FTP credentials (hostname, username, password, and port number). These are typically provided by your web hosting provider. If you’re unsure where to find them, check your hosting account dashboard or contact your hosting support.
- Connect to Your Server: Open your FTP client and enter your FTP credentials. Click “Connect” to access your website’s files.
Step 2: Navigate to the Plugins Directory
- Find the Root Directory: Once connected, navigate to the root directory of your WordPress installation. This is often named
public_html,www, or something similar. - Locate the Plugins Folder: Within the root directory, navigate to
wp-contentand thenplugins. Here you will see a list of all the installed plugins, each in its own folder.
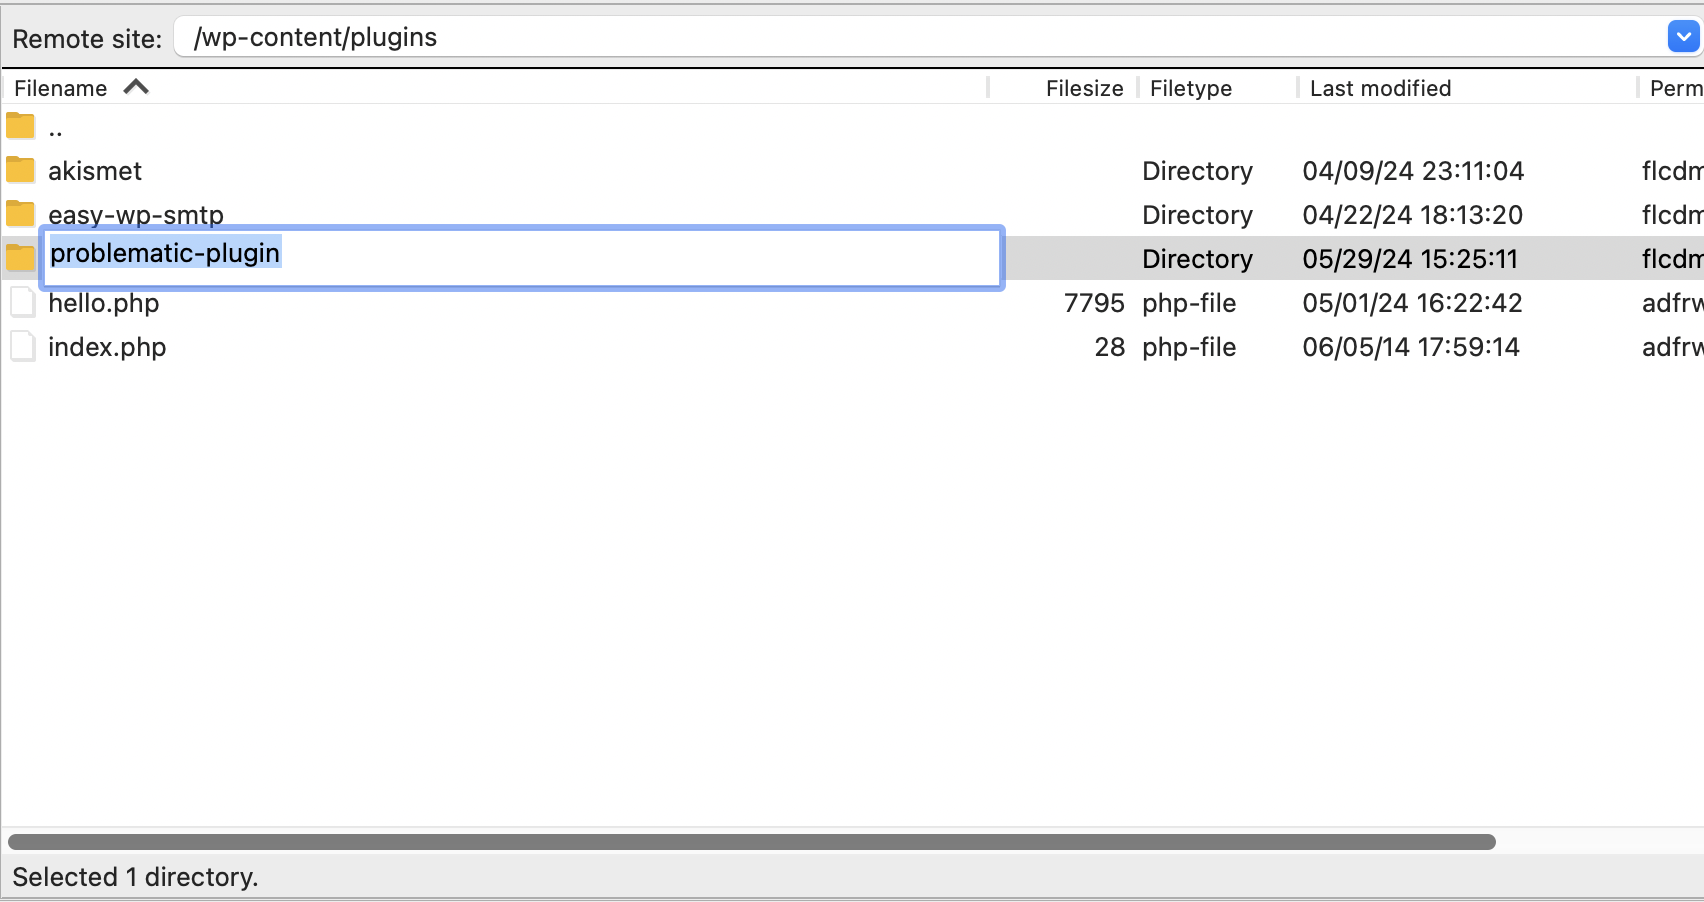
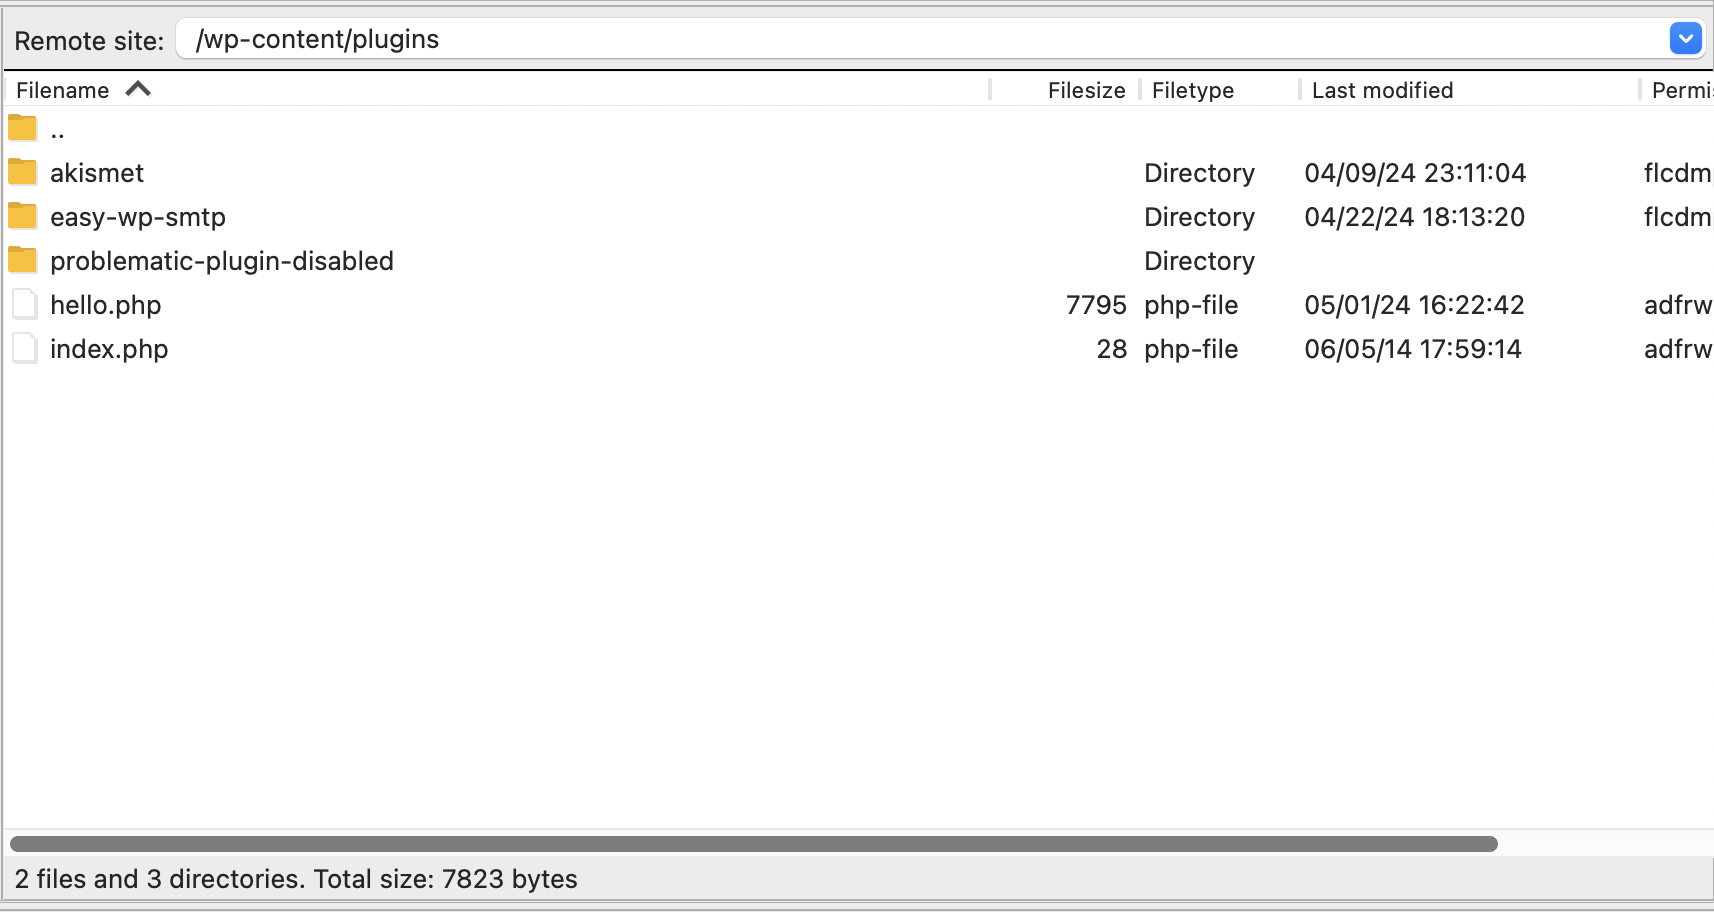
Step 3: Rename the Plugin Folder
- Identify the Problematic Plugin: Find the folder of the plugin you need to disable. The folder name will usually match the plugin name.
- Rename the Folder: Right-click on the plugin folder and choose the rename option. Change the folder name to something like
plugin-name-disabled. Adding-disabledto the end of the folder name will deactivate the plugin. - Save Changes: The changes are immediate. By renaming the folder, WordPress will no longer recognize the plugin, effectively disabling it.
Step 4: Verify the Plugin is Disabled
- Check Your Website: Open your website in a browser to ensure it is functioning correctly. If the issue was caused by the plugin, your site should now be back to normal.
- Access WordPress Admin Dashboard: If your site is working, try logging into the WordPress admin dashboard. Navigate to the Plugins page (
Plugins > Installed Plugins). You should see a message indicating that the plugin has been deactivated because the plugin file does not exist.
Additional Tips
- Backup Your Site: Always back up your website before making changes, especially when dealing with FTP. This ensures you can restore your site if something goes wrong.
- Update or Replace: If the plugin is essential, consider checking for updates or finding alternative plugins that provide the same functionality without causing issues.
- Seek Professional Help: If you’re not comfortable working with FTP or if the issue persists, consider seeking help from a professional web developer or your hosting provider’s support team.
Disabling a WordPress plugin via FTP is a straightforward process that can save your site from significant issues when you can’t access the WordPress admin area. By following these steps, you can quickly identify and resolve plugin-related problems, ensuring your website remains operational and accessible.